
What to Expect When You Switch to Full Fibre: An Installation Guide
Is full fibre ready for you?
Get an instant, no-obligation answer for your address.
Stepping up to full fibre broadband isn’t just a minor upgrade; it’s the digital equivalent of moving from a gravel path to a private lane on the autobahn. For years, most of us have been living with a compromise—a hybrid system where lightning-fast speeds travelled most of the way to our homes, only to hit a “bottleneck” of old copper wiring for the final stretch.
Switching to a Fibre-to-the-Premises (FTTP) connection changes the game entirely. Because the installation involves bringing brand-new physical infrastructure directly into your living room, the process is a bit more involved than just plugging in a new router. This guide will walk you through exactly what happens during a full fibre installation when the engineers arrive, ensuring you’re prepared to get the most out of your new connection from day one.
Understanding the Full Fibre Difference
Before the van pulls up, it helps to understand why this process feels more “industrial” than your last internet setup. You aren’t just getting a new service; you’re getting a new utility.
Why Full Fibre Isn’t Just a Speed Boost
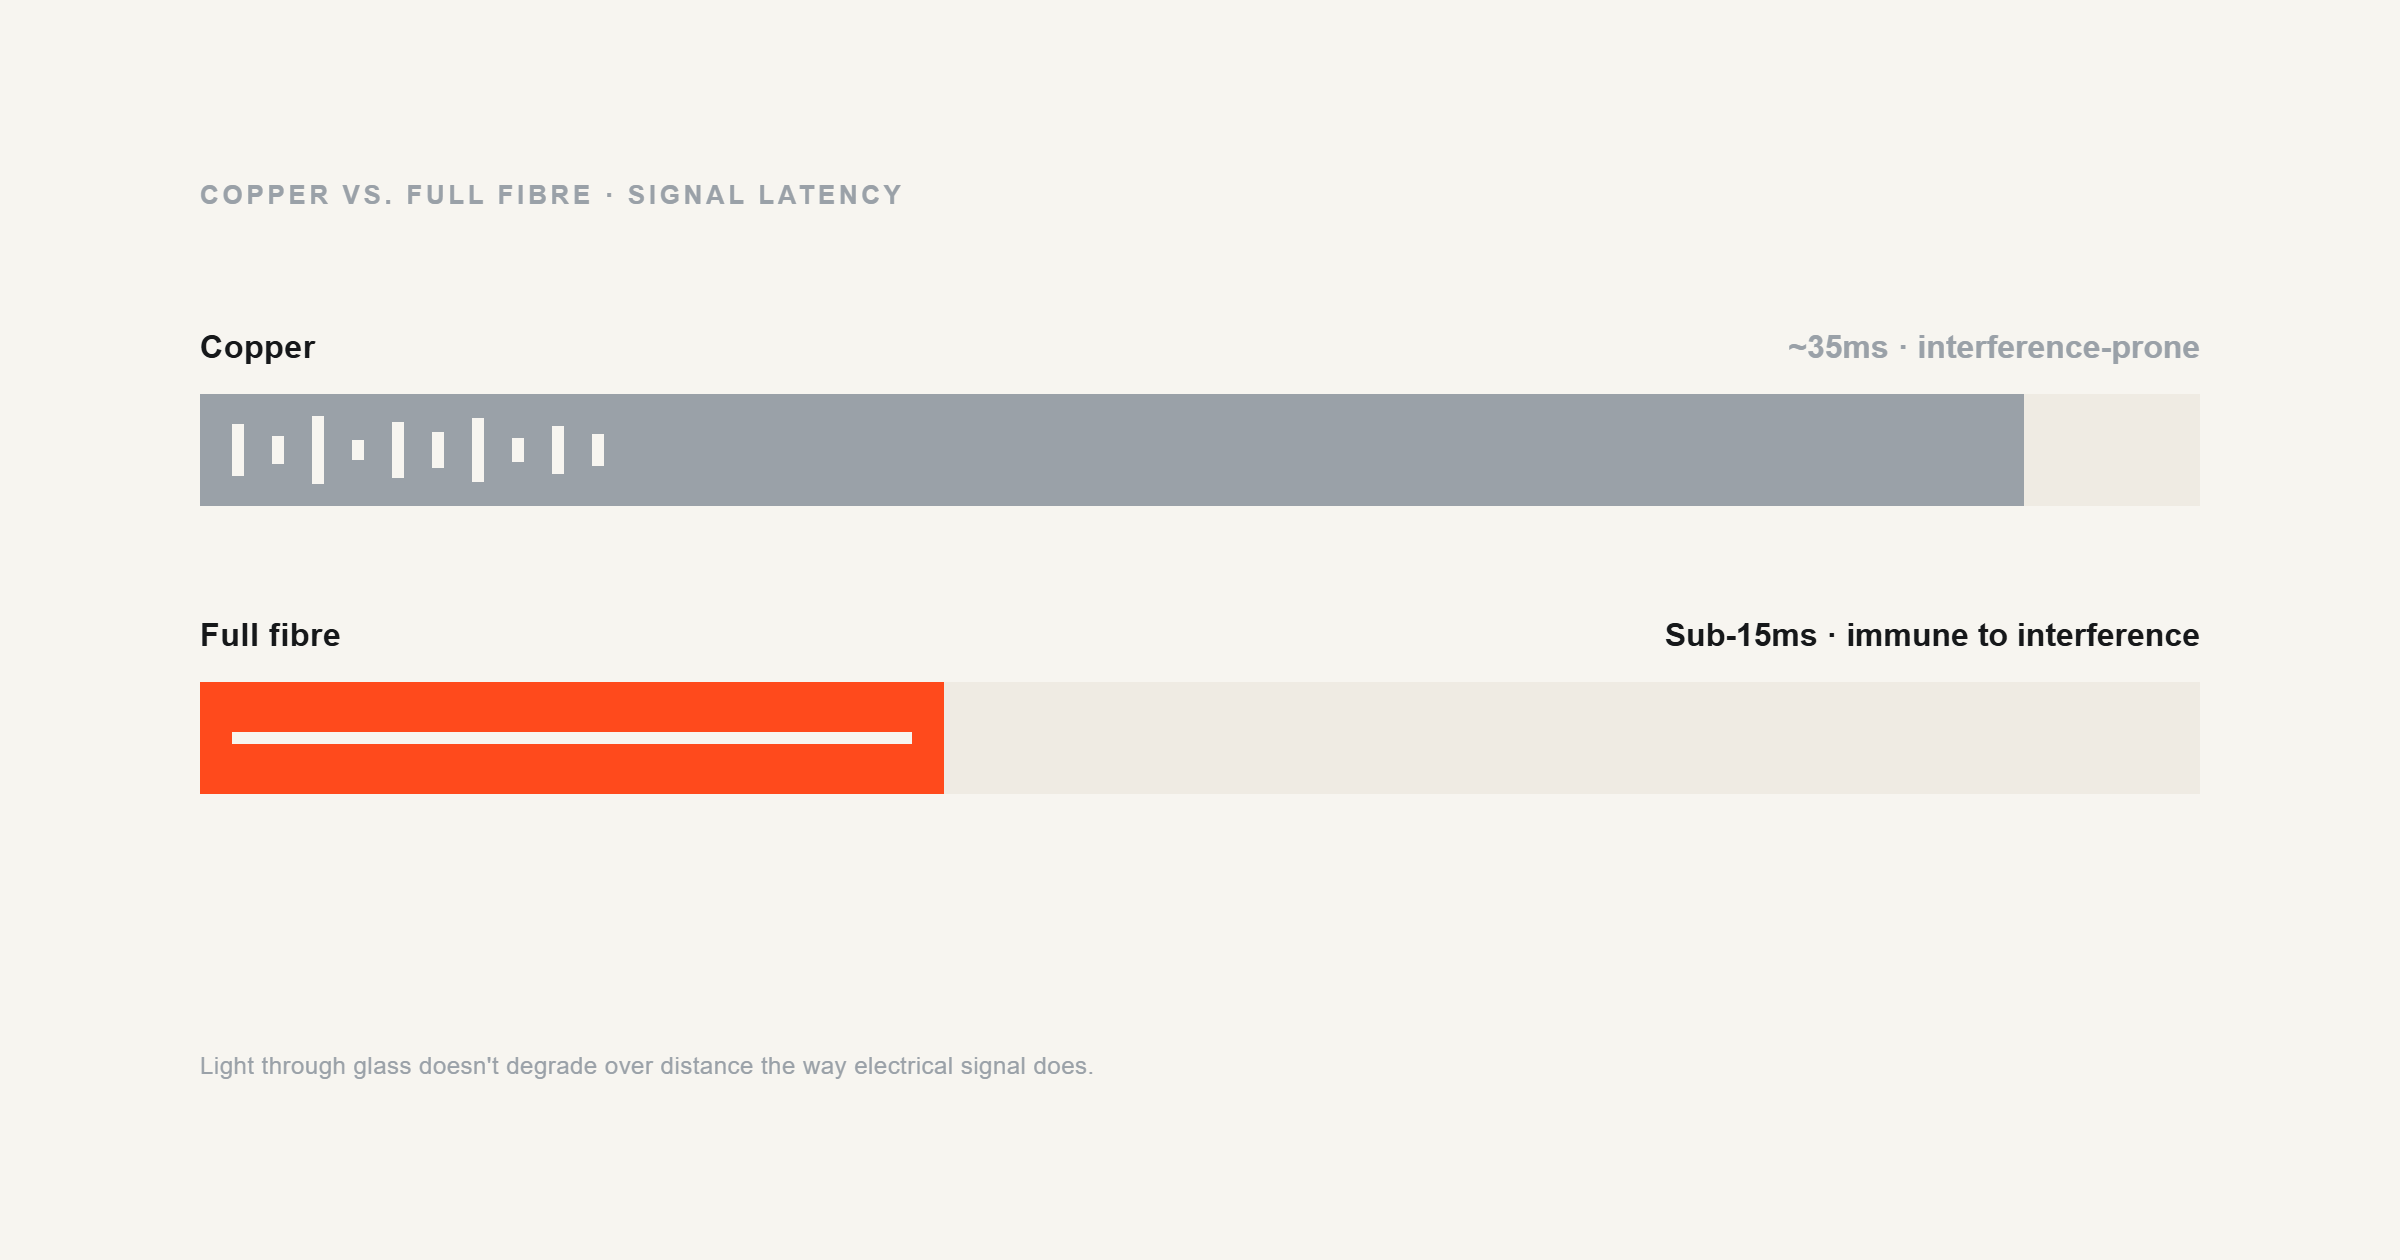
We often talk about fibre in terms of megabits and gigabits, but the real magic lies in reliability and latency. Traditional copper wires are prone to interference from electrical weather and physical degradation. They are essentially “noisy” environments for data. Full fibre uses pulses of light sent through strands of glass no thicker than a human hair.
Light doesn’t care about electromagnetic interference, and it doesn’t degrade over distance the way electrical signals do. This means your “ping” (the delay between clicking a link and the server responding) drops significantly. Whether you’re a gamer, a remote worker on constant video calls, or a household with ten devices streaming at once, ultrafast full fibre broadband packages provide a foundation that doesn’t buckle under pressure.
FTTP vs. FTTC: The Physical Change Coming to Your Home

Most “fibre” marketed over the last decade was actually FTTC (Fibre to the Cabinet). The fibre optic cable stopped at the green box on your street corner, and the rest of the journey to your house used the old copper phone lines.
With FTTP (Fibre to the Premises), that copper landline is bypassed entirely, often moving your home phone to a digital voice service instead. A brand-new glass cable is run from the street directly into your home. This requires a physical entry point, a new box on your outside wall, and a specialised internal modem. It’s a complete replacement of your home’s digital nervous system.
Pre-Installation: Setting the Stage for Success
Preparation is the difference between a two-hour seamless install and a frustrating installation date that ends with “we’ll have to come back next week.”
Choosing the Right Entry Point for Your Property
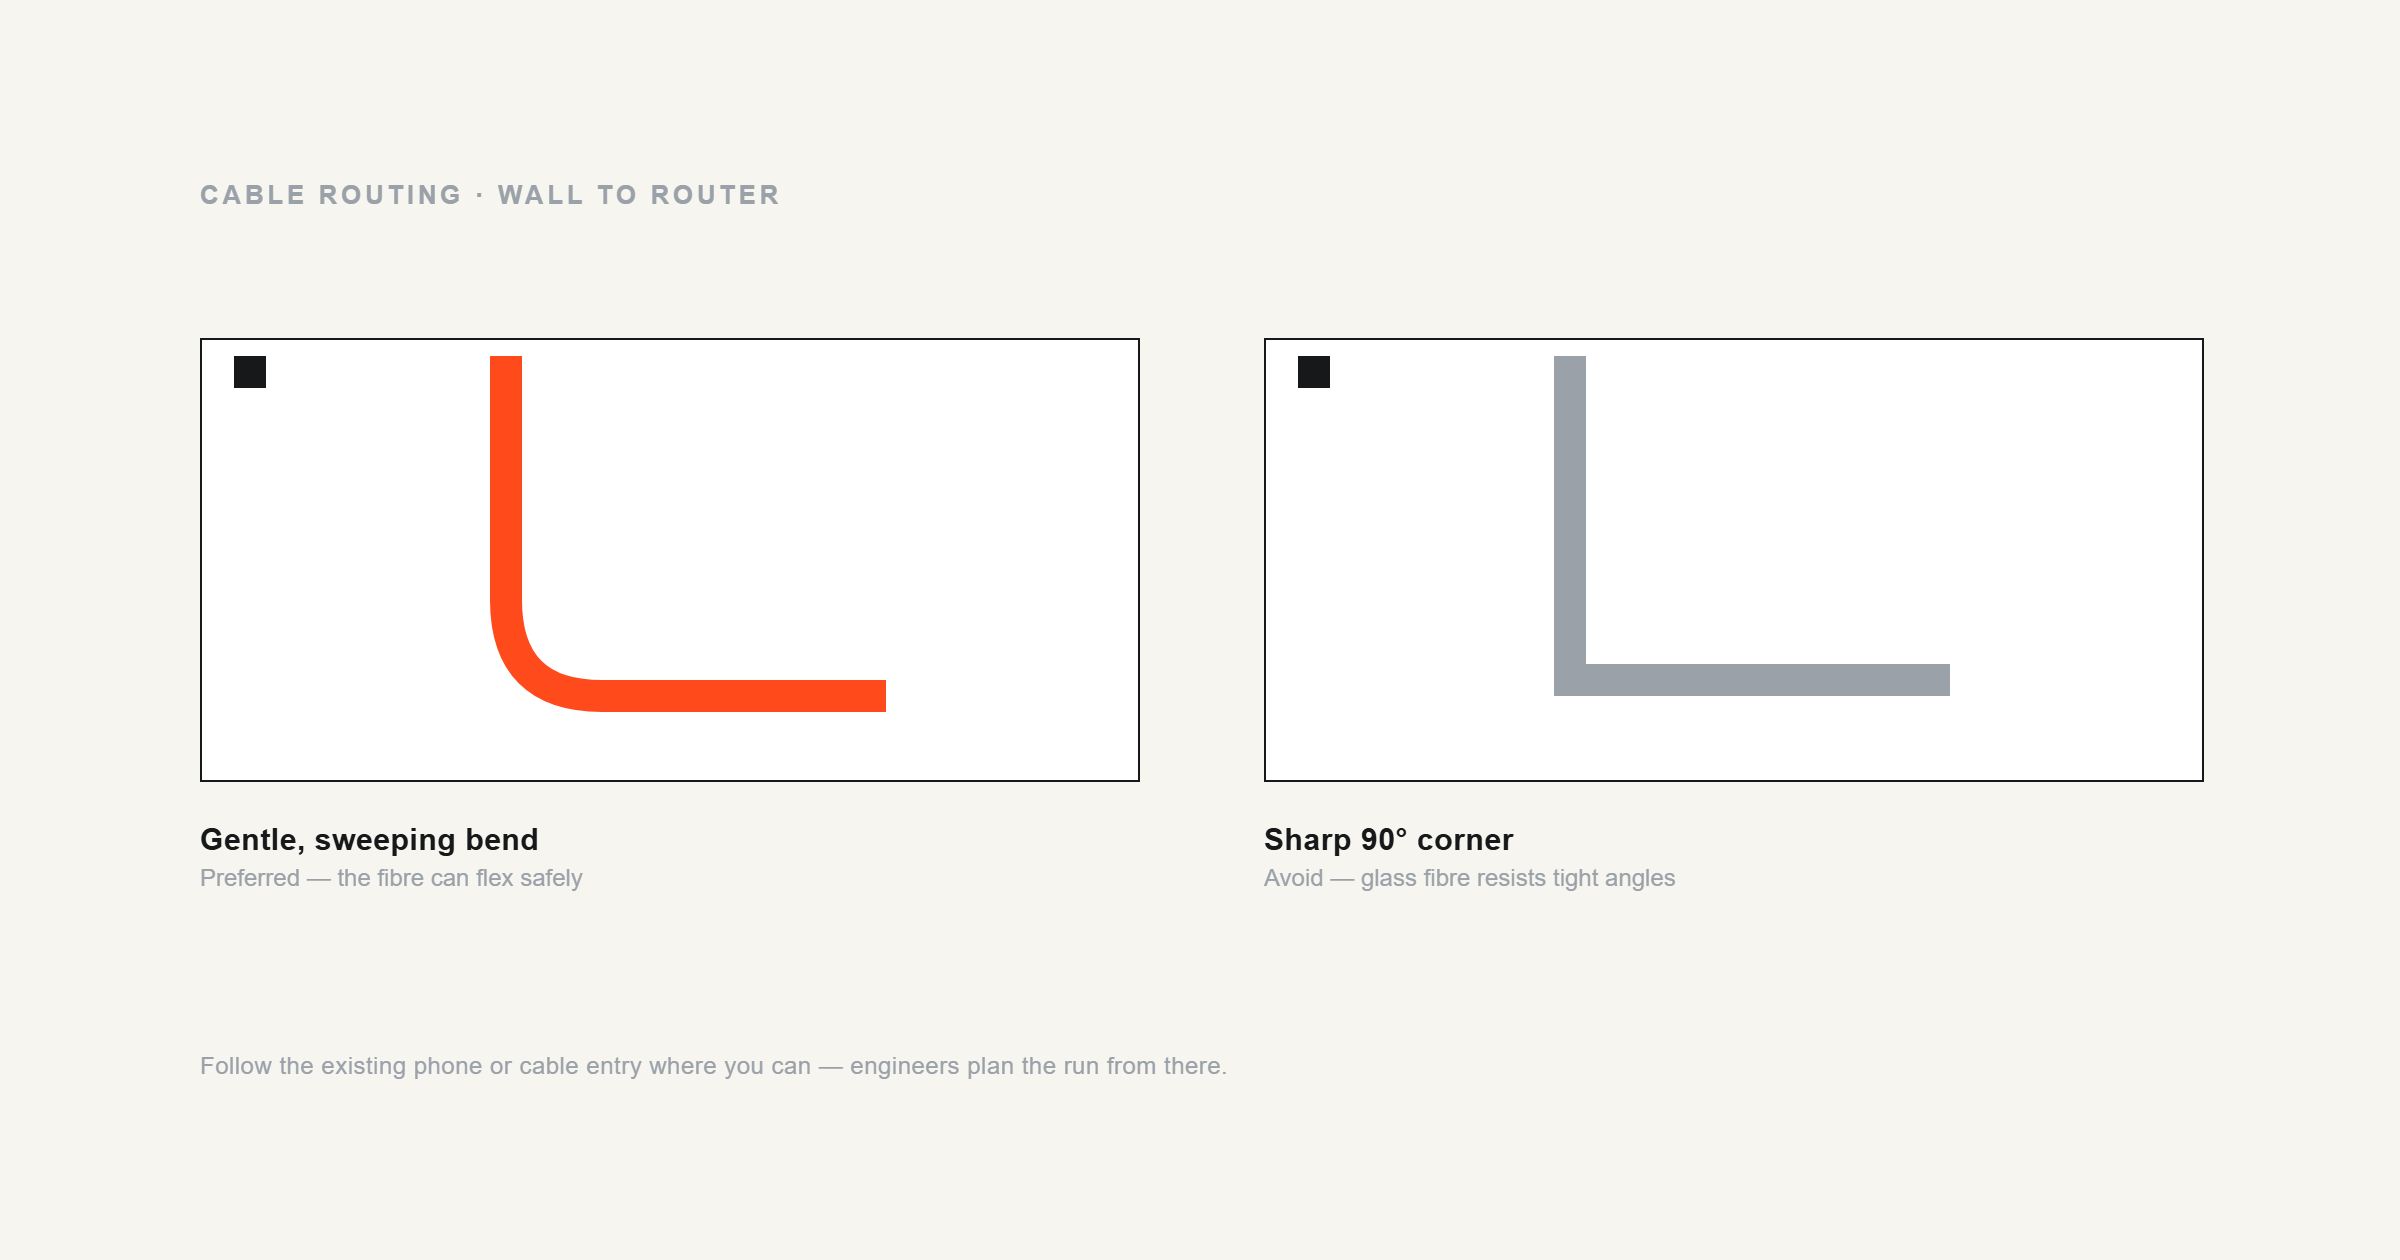
Think about where you want your router to live. Ideally, it should be in a central location, but the fibre cable has to come through an external wall first. Look at the exterior of your house. Where does the current phone line or cable entry sit? Engineers usually prefer to follow existing paths, but if you want the entry point in a specific home office or living room corner, identify that now. Keep in mind that the cable can only be bent so much; it doesn’t like sharp 90-degree corners.
Checking for Obstructions and Power Requirements
The engineer will need clear access to the exterior walls. If you have a prized rose bush or a heavy shed blocking the spot where the cables enter the house, try to clear a path before they arrive. Internally, the new equipment—specifically the Optical Network Terminal (ONT)—requires its own power socket. Ensure you have a spare socket near the intended installation site, or a good-quality extension lead ready to go.
What to Communicate to Your Provider Before They Arrive
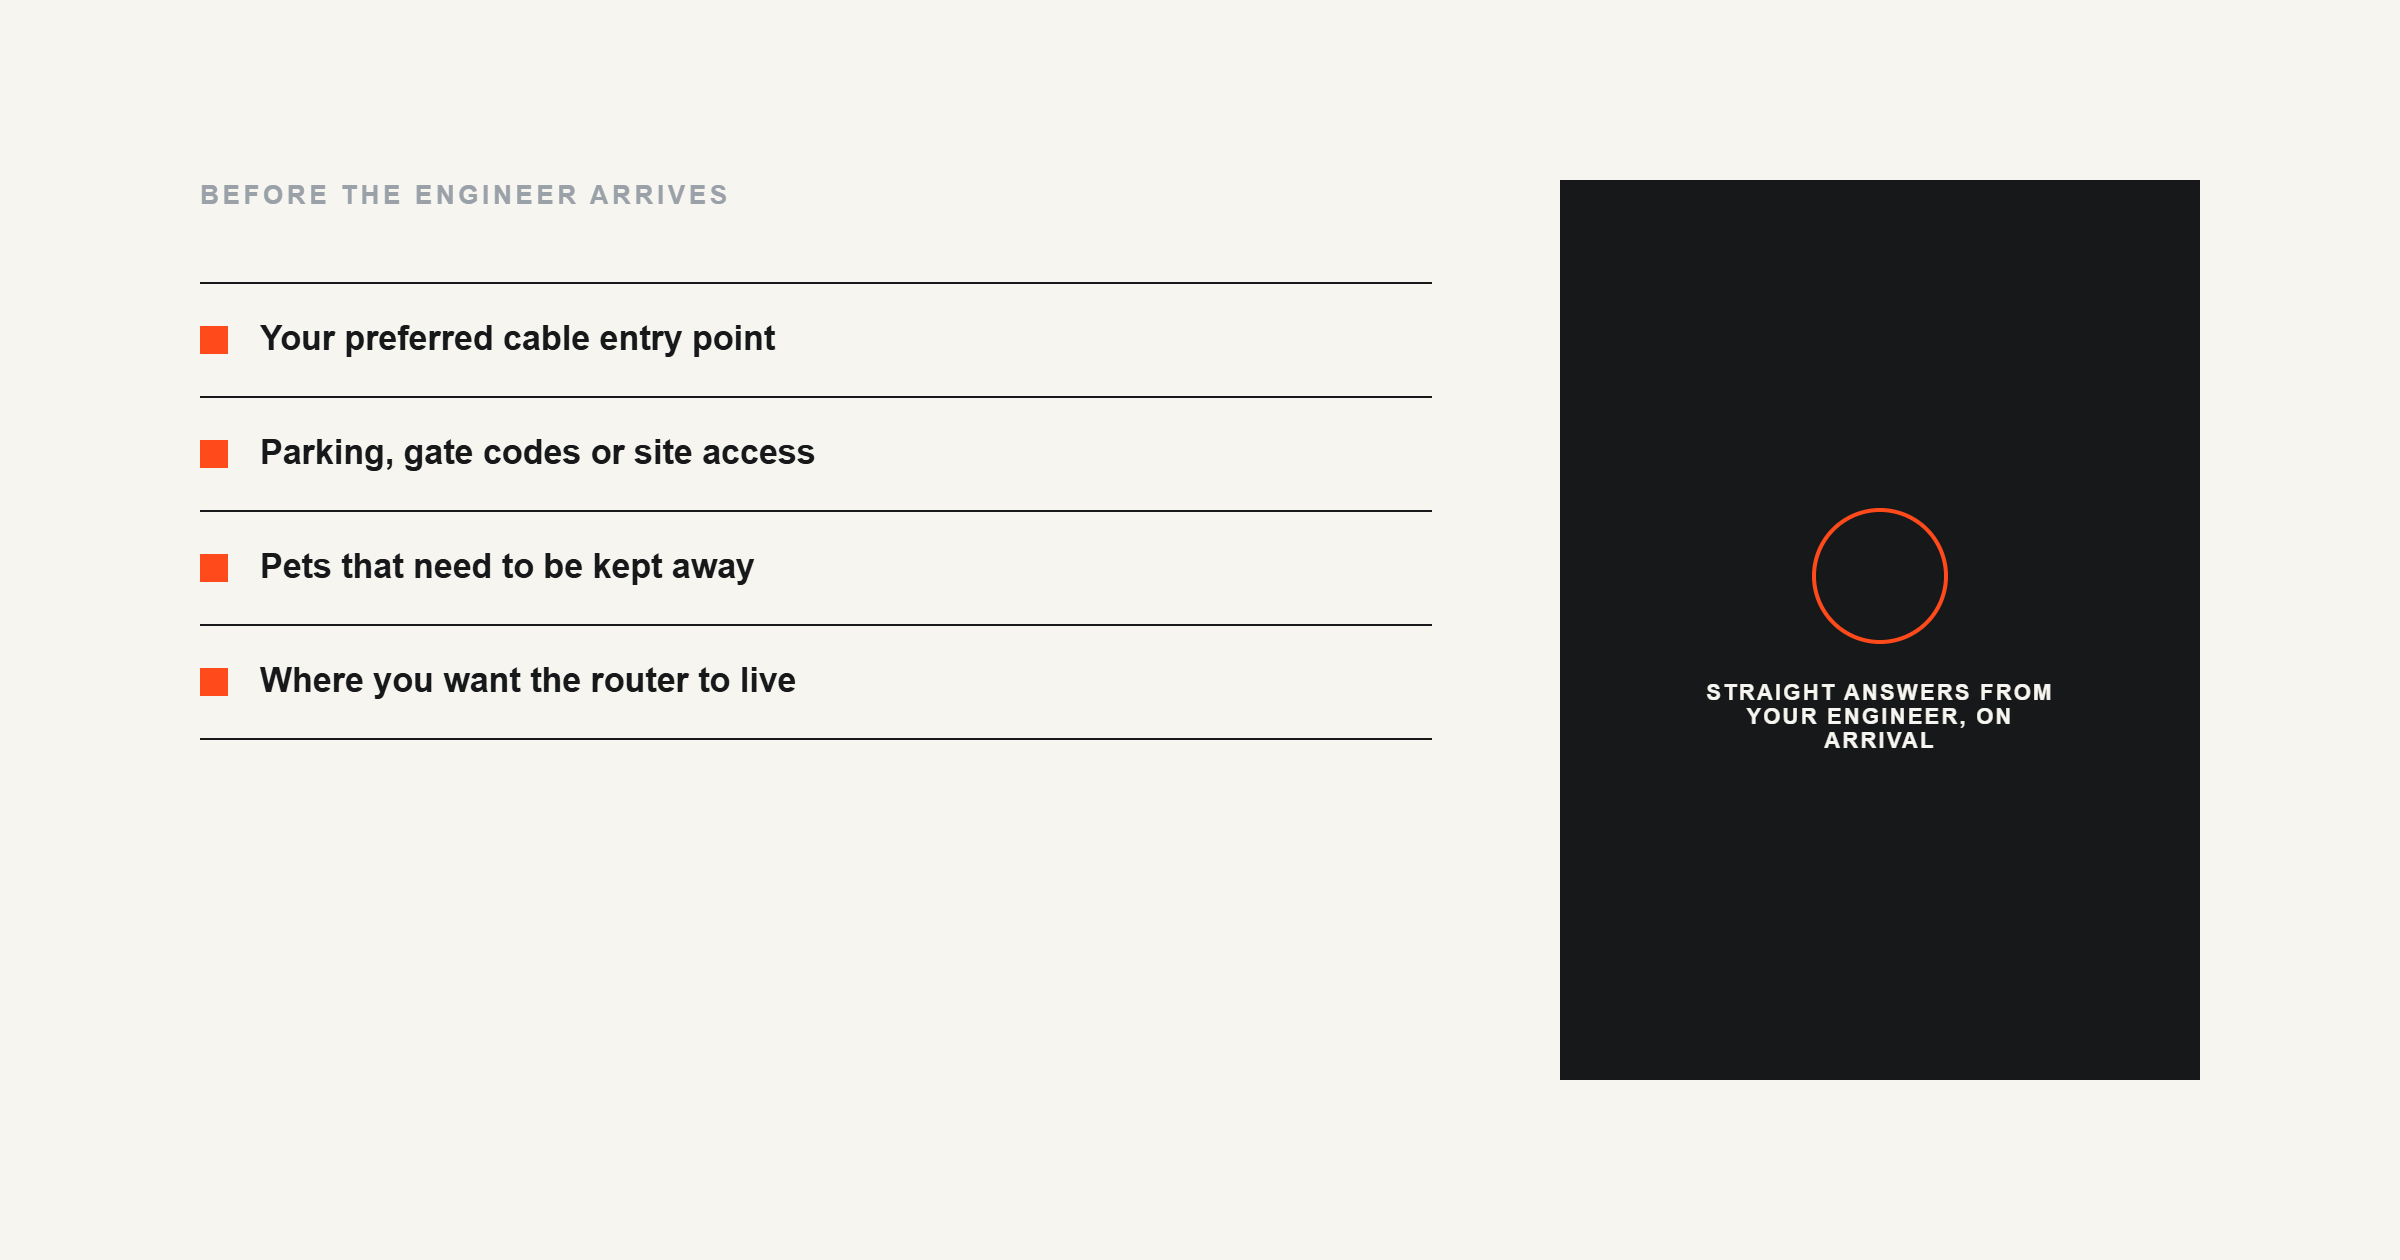
If your home has specific quirks—like being a listed building, having thick stone walls, or requiring access through a neighbour’s driveway—tell your provider early. If the installation requires “civil works” (like digging up a driveway), the provider needs to know so they can send a crew with the right tools, rather than just a lone engineer with a ladder.
The Arrival: What Happens When the Engineer Knocks
When the engineer arrives, they aren’t going to start drilling immediately. The first thirty minutes are the most important for ensuring you get the setup you want.
The Preliminary Walkthrough and Agreement
A good engineer will walk the perimeter of your house with you. They will point out where the cable will come from (the street or a pole) and where it will enter the house. This is your time to speak up. If you don’t want a cable pinned across the front of your beautiful brickwork, ask if they can run it along the side or through the crawl space. Once you both agree on the route, they’ll usually ask you to sign a digital consent form to begin the work.
Health and Safety Checks
Before the tools come out, the engineer will carry out a site risk assessment. They’ll check for stable ground for their ladder and ensure there are no hidden utility lines (gas/water) where they plan to drill. Don’t be surprised if they spend a few minutes just looking at your eaves and walls; they are ensuring the installation is permanent and safe.
External Work: Bringing the Light to Your Door
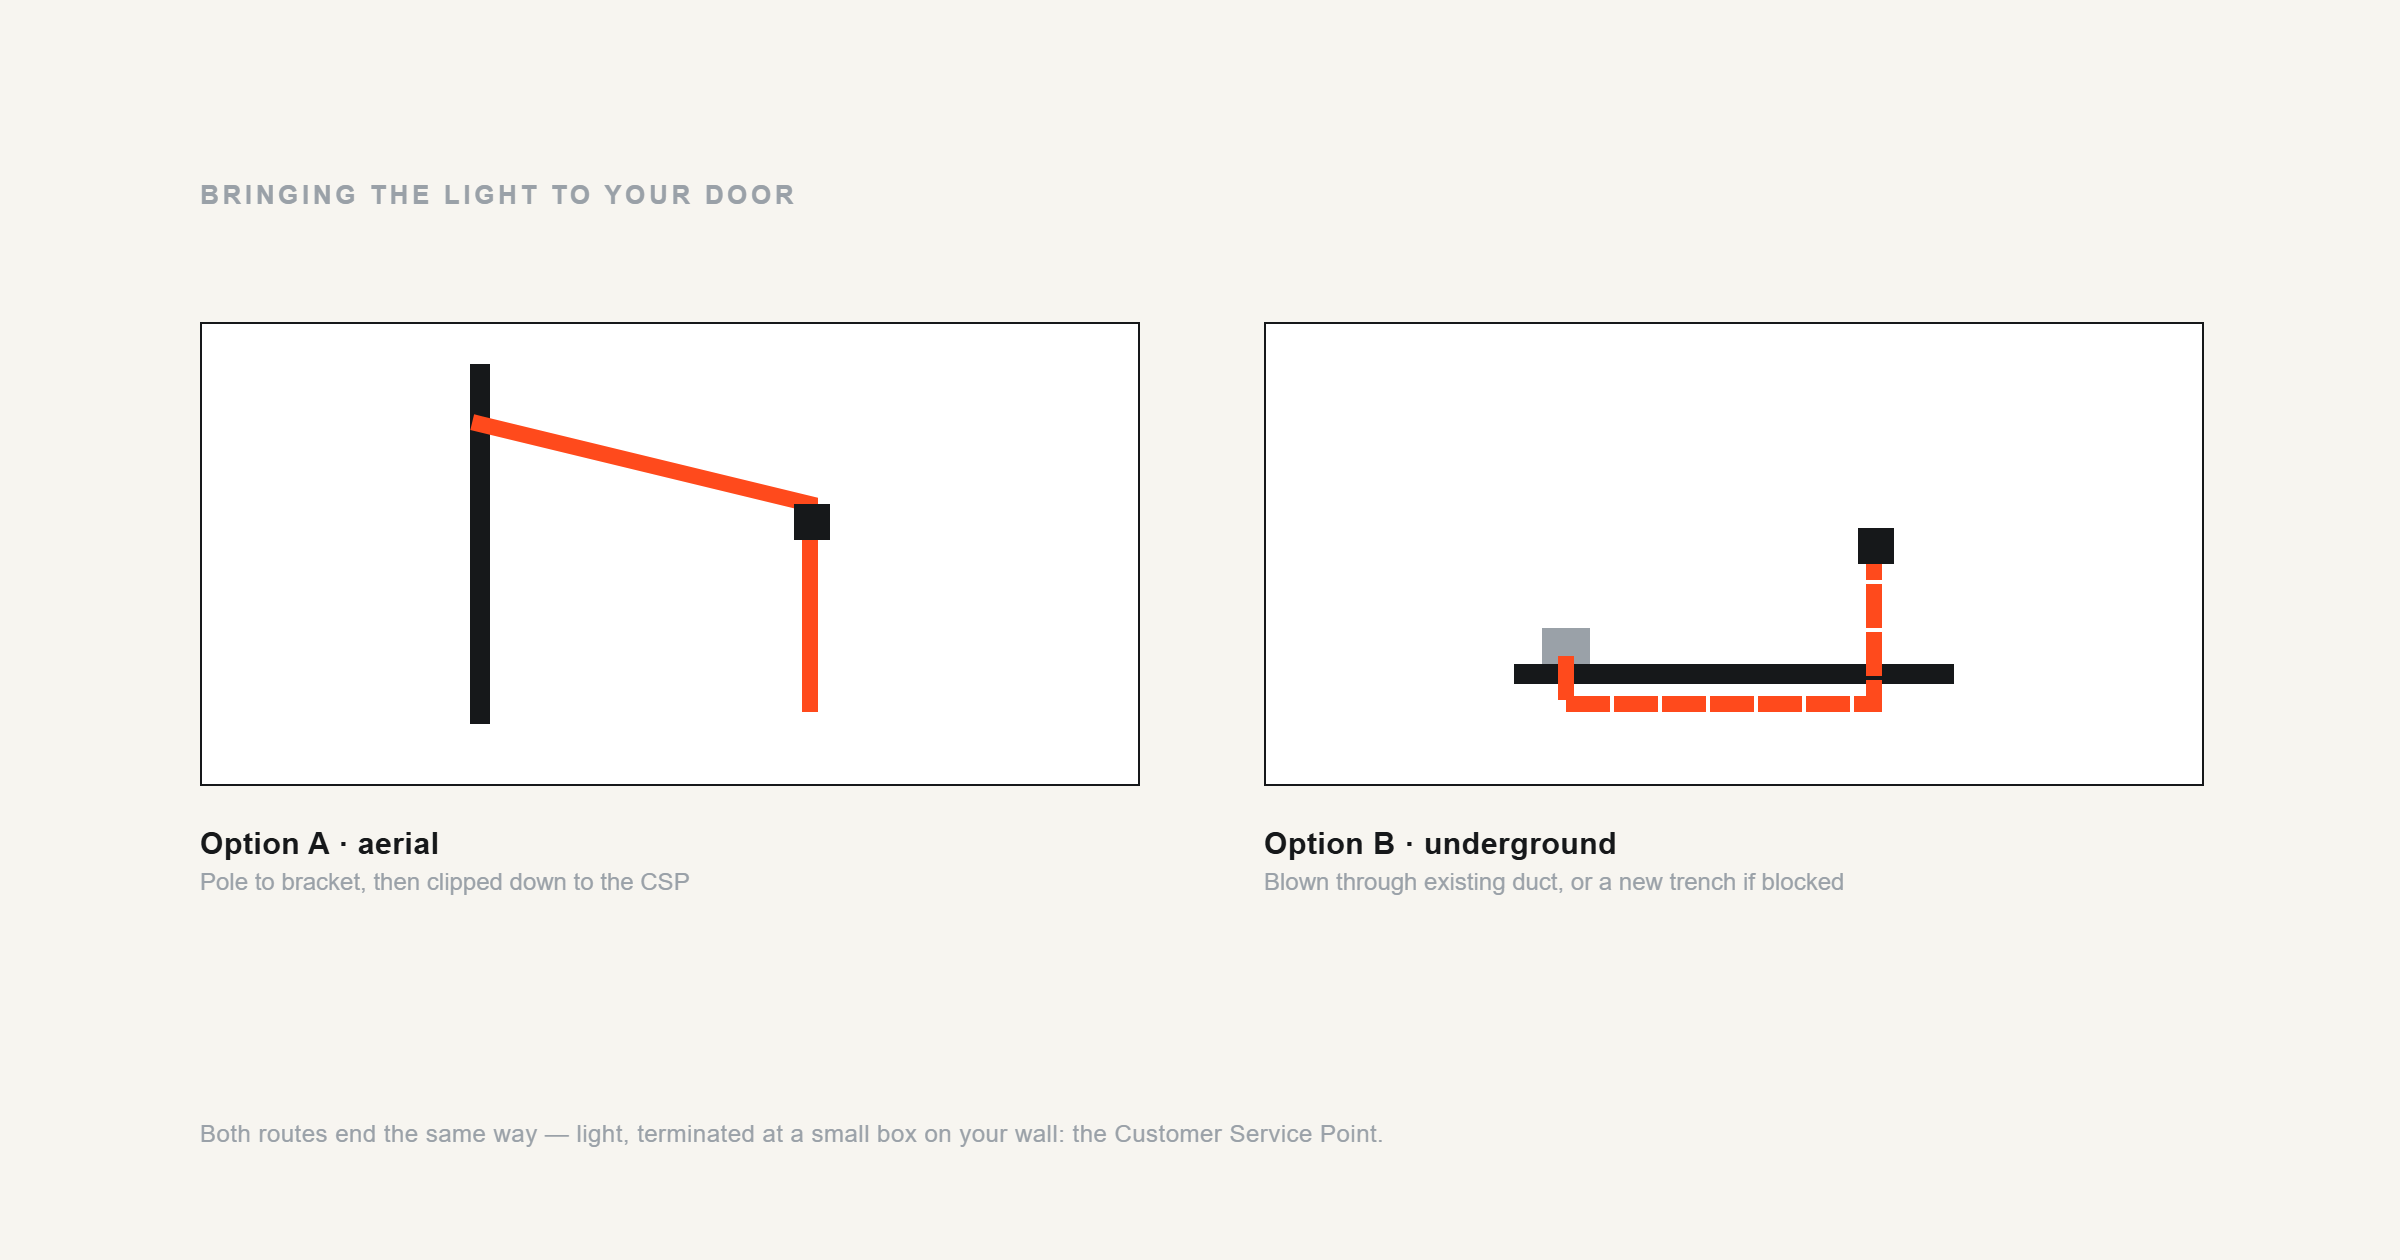
The first half of the job happens outside. The goal is to get the fibre from the provider’s network to a small box on your wall called a Customer Service Point (CSP).
Option A: Aerial Installation (Overhead Wires)
If your current phone line comes from a wooden telegraph pole, your fibre likely will too. The engineer will use a cherry picker or a ladder to string a reinforced fibre cable from the pole to a bracket on your house. They will then clip the cable down the side of your home to ground level.
Option B: Underground Installation (Ducting and Trenching)
If your utilities are underground, the engineer will look for a “tobacco tin” (a small plastic cover) in the pavement. They will attempt to blow or fish the fibre through existing plastic ducts leading to your house. If those ducts are blocked—which happens in older properties—they may need to dig a small, neat trench to lay a new pipe.
Installing the Customer Service Point (CSP) Box
Regardless of how the cable gets to your house, it will terminate in a CSP box, which serves as an external junction box. This is a small, weatherproof plastic box mounted to your exterior wall. Its job is to act as a transition point. The ruggedised outdoor cable ends here, and a more flexible internal fibre cable begins, which is then fed through your wall.
Internal Work: The Final Connection
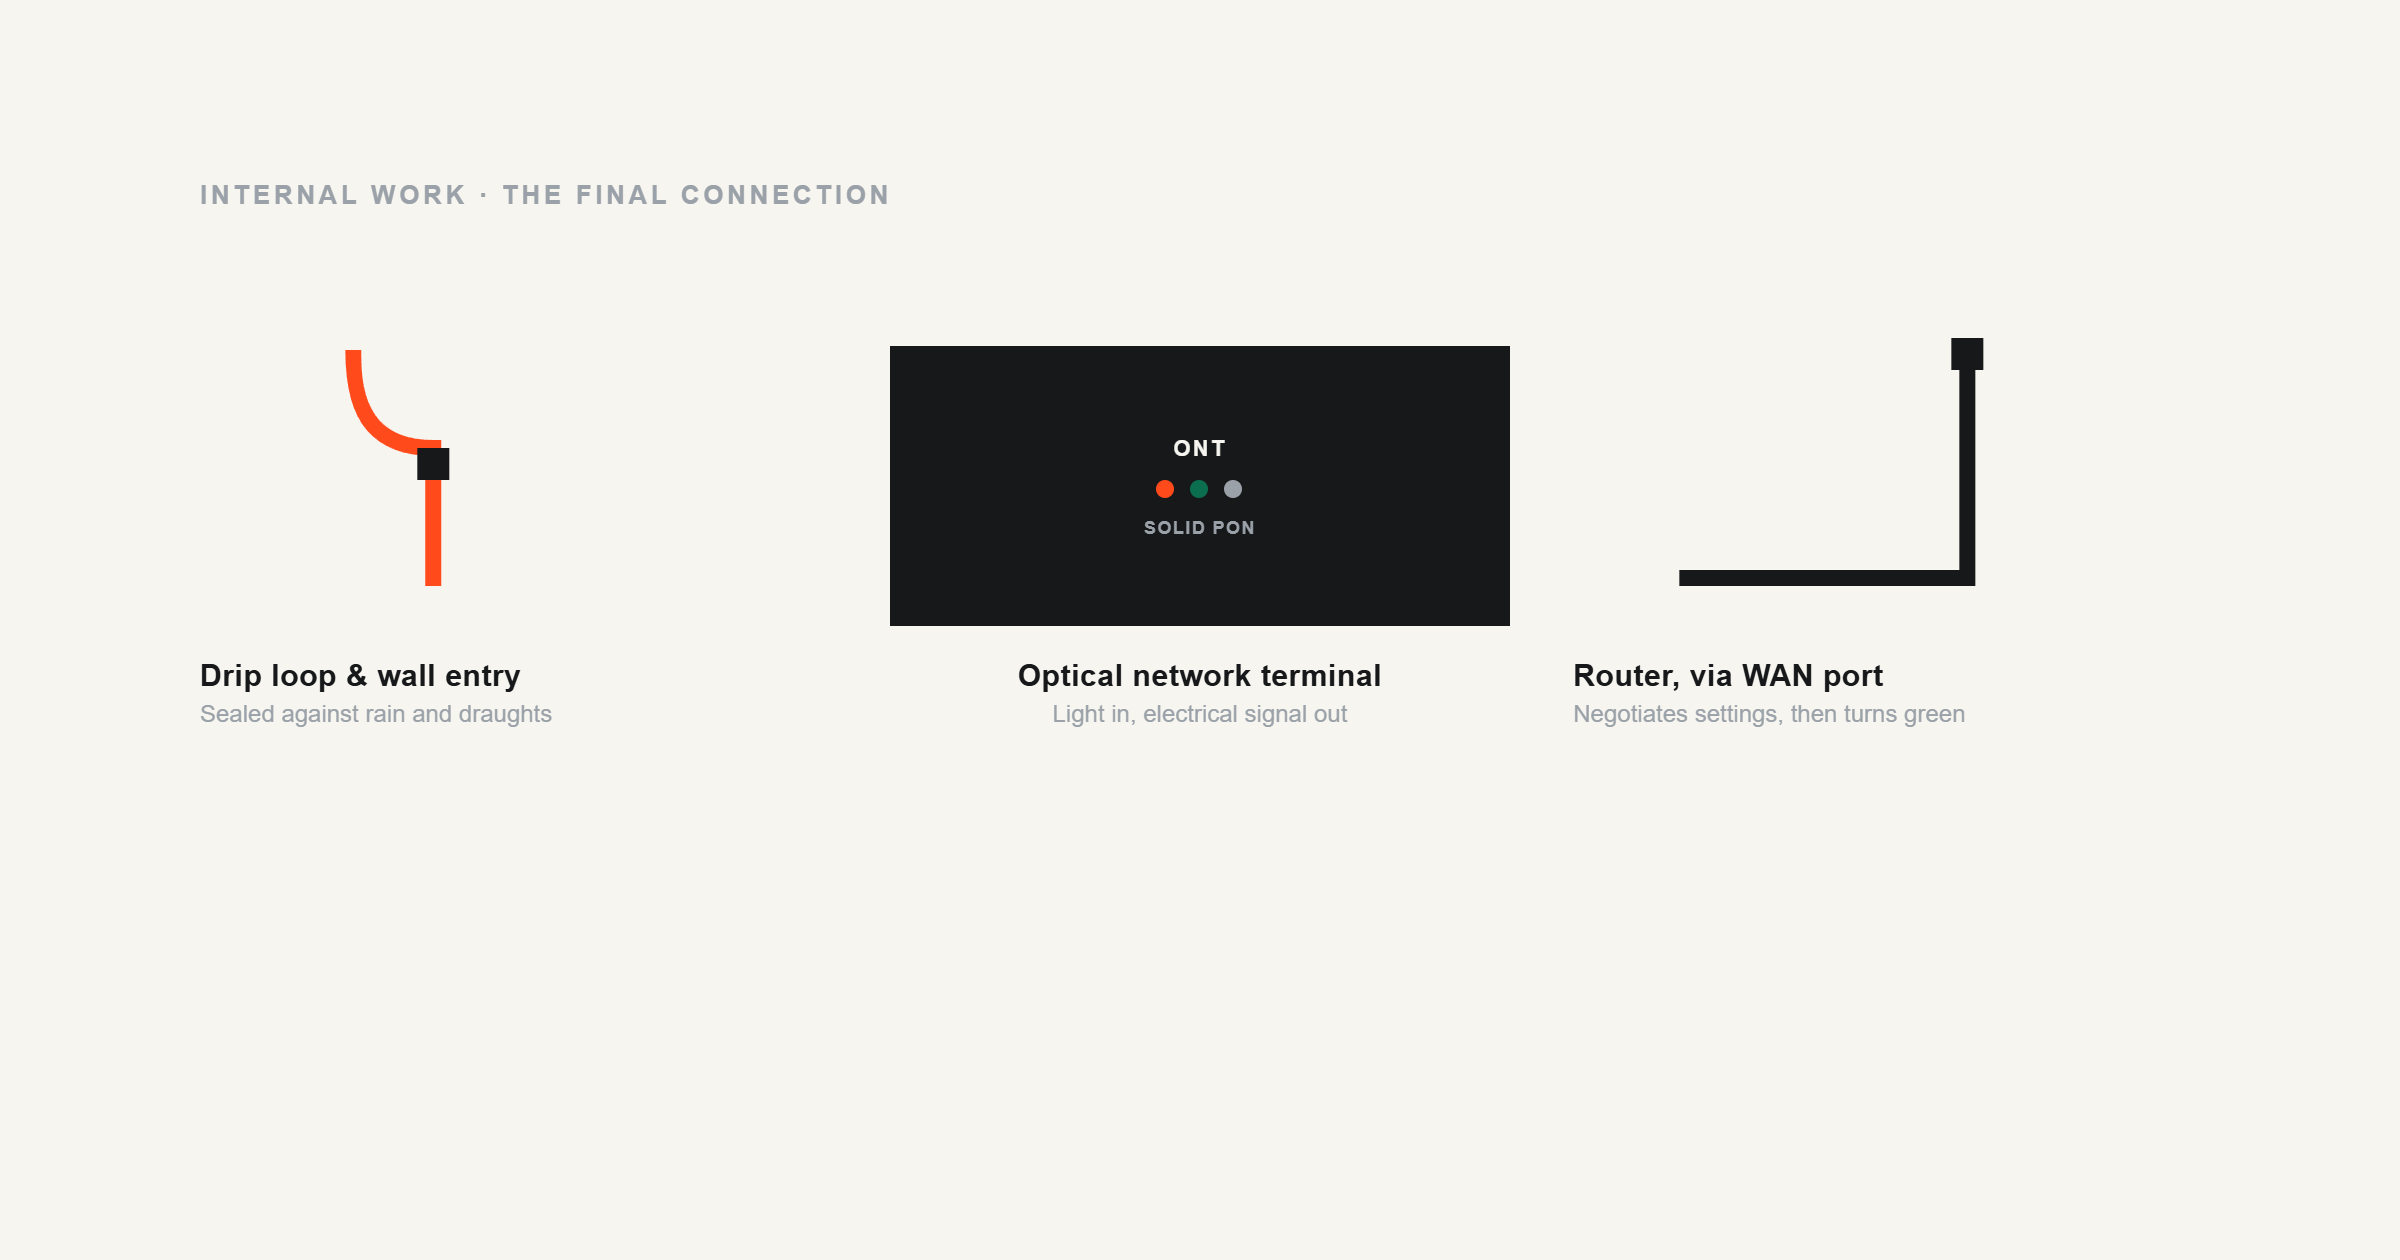
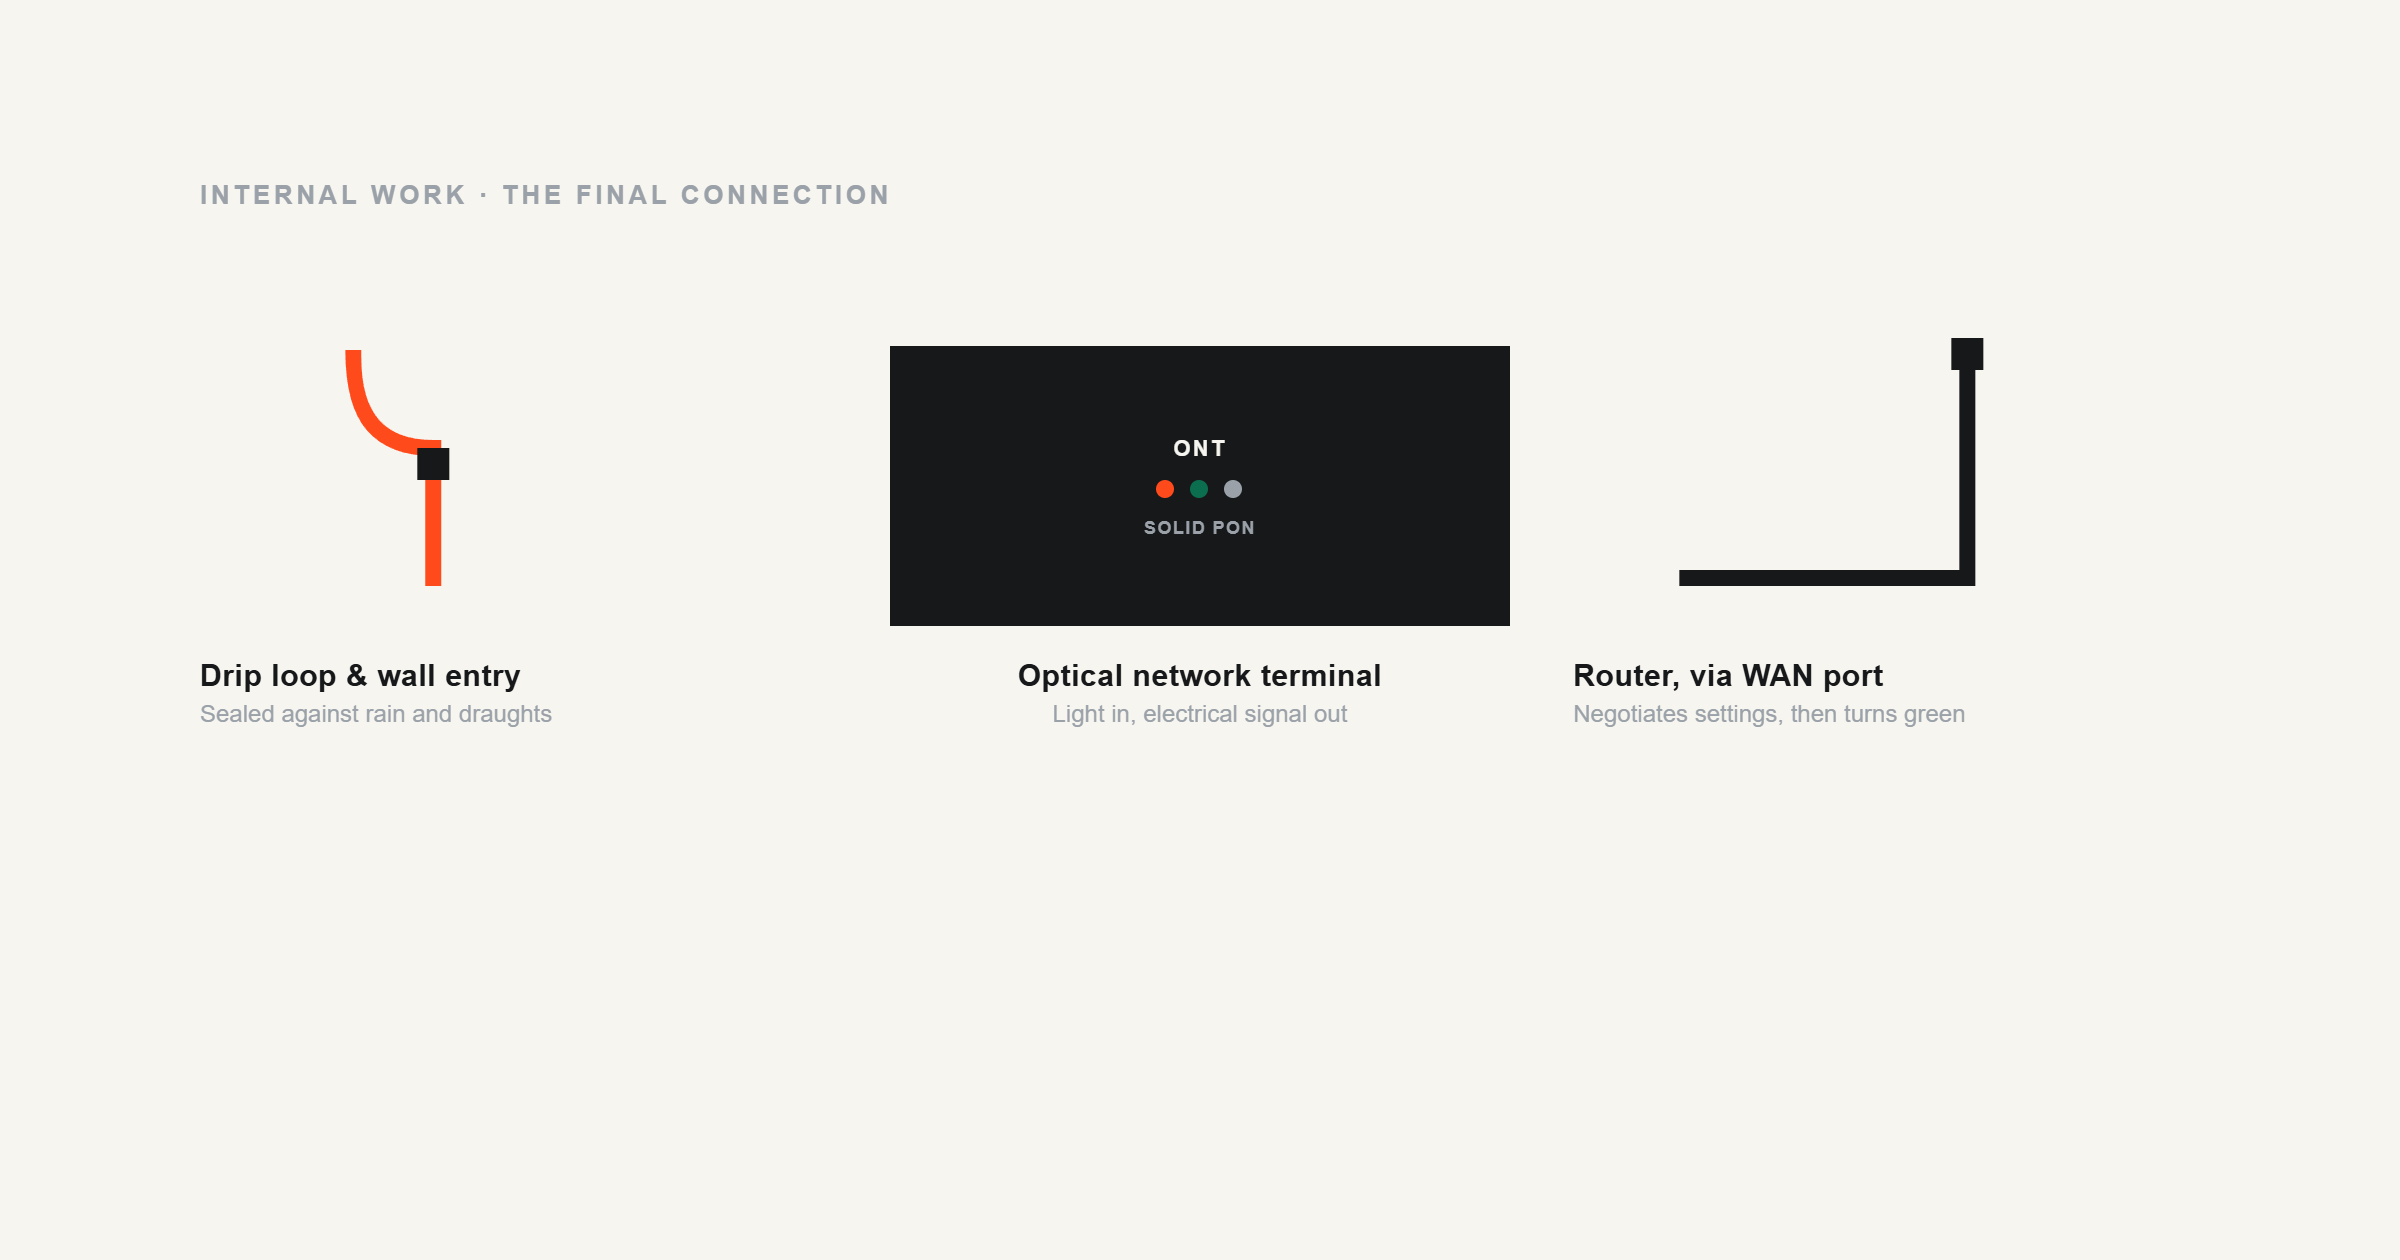
This is the part where the “internet” actually enters your living space.
Drilling the Entry Hole and Sealing the Path
The engineer will drill a small hole (about the diameter of a finger) through your wall to bring the fibre inside. A professional install should always include a “drip loop”—a small curve in the cable before it enters the hole to prevent rainwater from running down the wire into your house. Once the cable is through, they will seal the hole with silicone or a plastic grommet to keep out draughts and moisture.
Installing the Optical Network Terminal (ONT)
Inside, the engineer will mount the ONT to your wall. Think of this as the “fibre modem.” Unlike your old router, this box stays with the house if you move. It converts the light signals from the fibre cable into electrical signals your router can understand. It needs to be plugged into a standard wall socket at all times.
Powering Up the Hardware
Once the ONT is mounted and the fibre is clicked into place, the engineer will power it up. You’ll see a series of lights begin to blink. They are looking for a solid “PON” (Passive Optical Network) light, which indicates that the box has successfully “talked” to the central exchange and the light levels are within the correct range.
Connecting Your Network
With the ONT live, you are officially connected to the fibre network. Now it’s time to distribute that speed throughout your home.
Syncing Your Router with the ONT
You will connect your Wi-Fi router to the ONT using an Ethernet cable (usually plugged into a port labelled “WAN” or “Internet”). Most modern routers provided by ISPs are “plug and play.” Once connected, the router will negotiate its settings with the ONT and should turn green (or blue) within a few minutes.
The First Boot: What the Indicator Lights Mean
- Power: Should be solid.
- LOS (Loss of Signal): If this is red, there is a break in the fibre line.
- PON: Should be solid green. This means your service is authenticated.
- LAN/Data: Will flicker as you start using the internet.
Testing Your Wired and Wireless Speeds
To truly see what you’re paying for, plug a laptop directly into the router with an Ethernet cable and run a speed test. This removes Wi-Fi interference from the equation. Don’t be alarmed if your Wi-Fi speeds are lower than your “advertised” speed; Wi-Fi is limited by walls, distance, and the age of your phone or laptop. The Ethernet test is the true measure of your new connection’s health.
Post-Installation Care and Troubleshooting
The engineer has left, and you’re browsing at warp speed. Here is how to keep it that way.
The “Settling In” Period: Managing Expectations
Some providers mention a 10-day “stabilisation period.” While this was crucial for old copper lines, full fibre is generally “full speed” from the second it’s turned on. However, your router may download several firmware updates in the first 24 hours, which can cause brief, intermittent restarts. Don’t panic; it’s just the hardware getting up to date.
Optimising Your Home Layout for Fibre Speeds
Now that you have a massive pipe of data entering the house, don’t choke it with a poorly placed router. Keep the router out in the open—not in a cupboard or behind the TV. Since full fibre allows for much higher speeds, you might find that your old Wi-Fi extenders are now the “weak link.” Consider upgrading to a mesh Wi-Fi system to improve Wi-Fi coverage and ensure that gigabit speed reaches the bedrooms and the garden.
When to Contact Support vs. When to Wait
If your LOS light turns red, check the external cable for physical damage (e.g., a wayward lawnmower or a fallen branch). If the cable looks fine, a red LOS usually means an issue at the local exchange, and you should ring your provider. If your speeds feel slow but the ONT lights are all green, try a simple “power cycle”—turn everything off for 30 seconds and back on again. 90% of the time, this clears the digital cobwebs.
Summary: Your New Digital Horizon
Switching to full fibre is a one-time inconvenience that pays dividends for decades. By understanding the path the cable takes—from the street to the CSP box, through the wall, and into the ONT—you can take control of the installation process.
You are no longer tethered to the limitations of 19th-century copper technology. Whether you’re downloading massive files in seconds or enjoying a buffer-free existence, your home is now future-proofed. Welcome to the light speed era; it’s a much smoother ride from here.
Is full fibre ready for you?
Get an instant, no-obligation answer for your address.